

First steps: Admin
This guide walks you through your first session in the Afterglow Backoffice, from logging in to creating content and inviting users.
Step 1 — Log in
Section titled “Step 1 — Log in”- Open the Backoffice URL provided by your organization.
- Enter your email address and password.
- Click Sign in.
You land on the Reports dashboard, which is the default home page.
Step 2 — Explore the dashboard
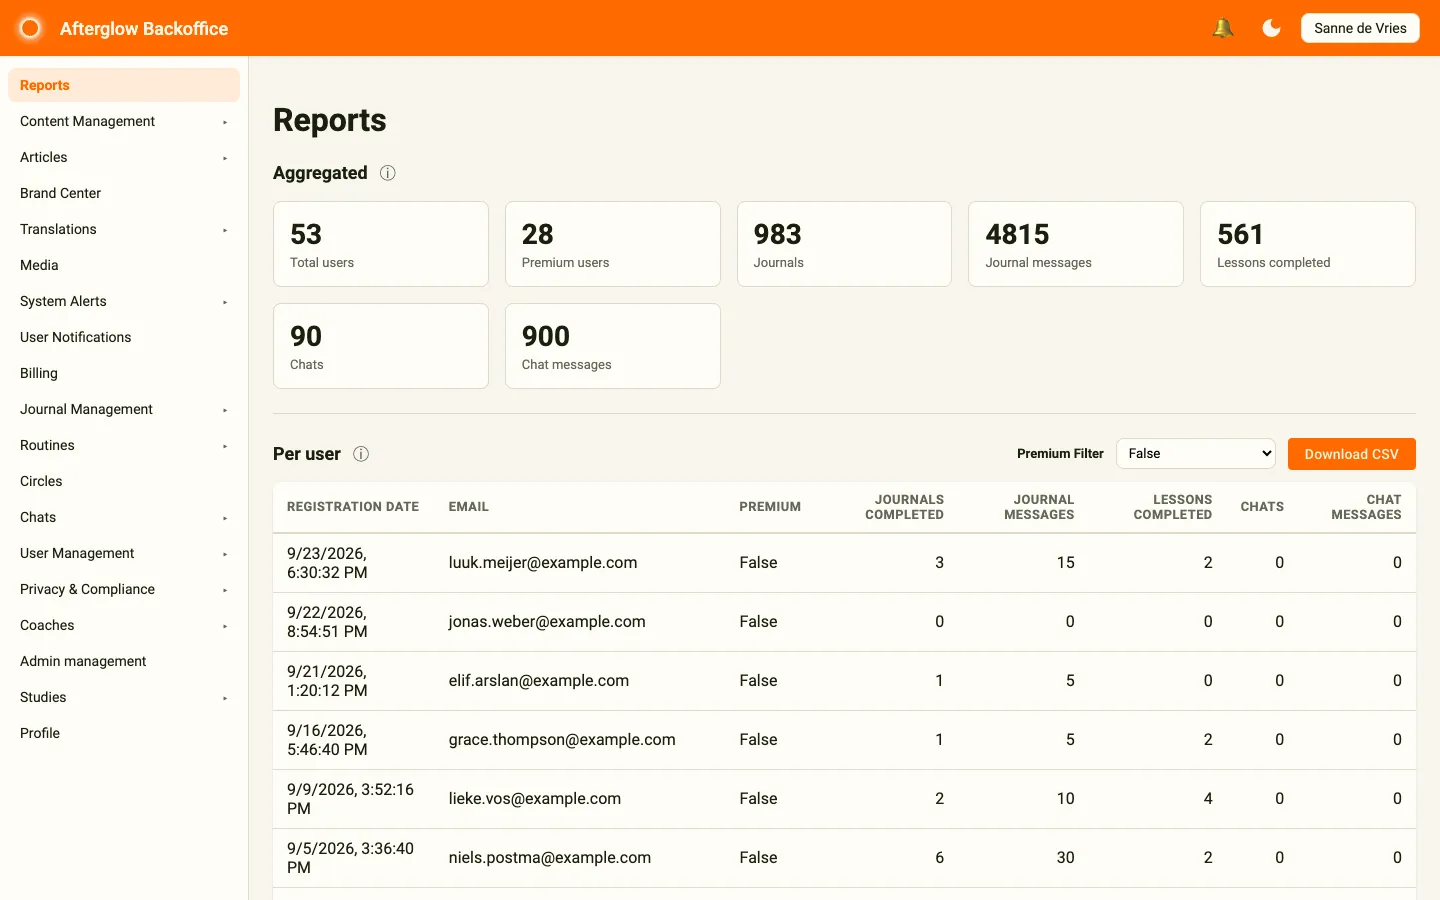
Section titled “Step 2 — Explore the dashboard”The Reports page gives you an at-a-glance summary of platform activity. It displays aggregated metrics including:
- Total users and premium users — how many people are on the platform.
- Journals and journal messages — journaling engagement.
- Lessons completed — content consumption progress.
- Chats and chat messages — community messaging activity.
Below the aggregated cards you will find the Per user table with per-user analytics and the Export Survey section for downloading survey results.
See Reports for a full breakdown of each metric.
Step 3 — Navigate the sidebar
Section titled “Step 3 — Navigate the sidebar”The sidebar on the left is your main navigation. Sections with an arrow expand to show their pages. It is organized into these sections:
| Section | What it does |
|---|---|
| Reports | Aggregated analytics and user activity |
| Content Management | Modules, lessons, lesson steps, answer templates, surveys, visualizations, and availability settings |
| Articles | Blog-style standalone content and topics |
| Brand Center | Colors, fonts, banners, and videos for the mobile app |
| Translations | Manage translated text and translation styling |
| Media | Shared media library for images, audio, and video |
| System Alerts | Alert rules, active alerts, and notification preferences |
| User Notifications | Push notification triggers sent to app users |
| Billing | Subscription and payment information |
| Journal Management | AI journal assistant configuration |
| Routines | Task templates and substance tracking |
| Circles | User groups for community features |
| Chats | One-to-one and circle chat conversations |
| User Management | View users, invite new ones, manage access codes, and manage documents |
| Privacy & Compliance | Data export and erasure requests |
| Coaches | Coach directory and booking management |
| Admin management | Add or remove admin accounts and assign roles |
| Studies | Research studies with participant groups and questionnaires |
| Profile | Your own email address and password |
Step 4 — Add your first content
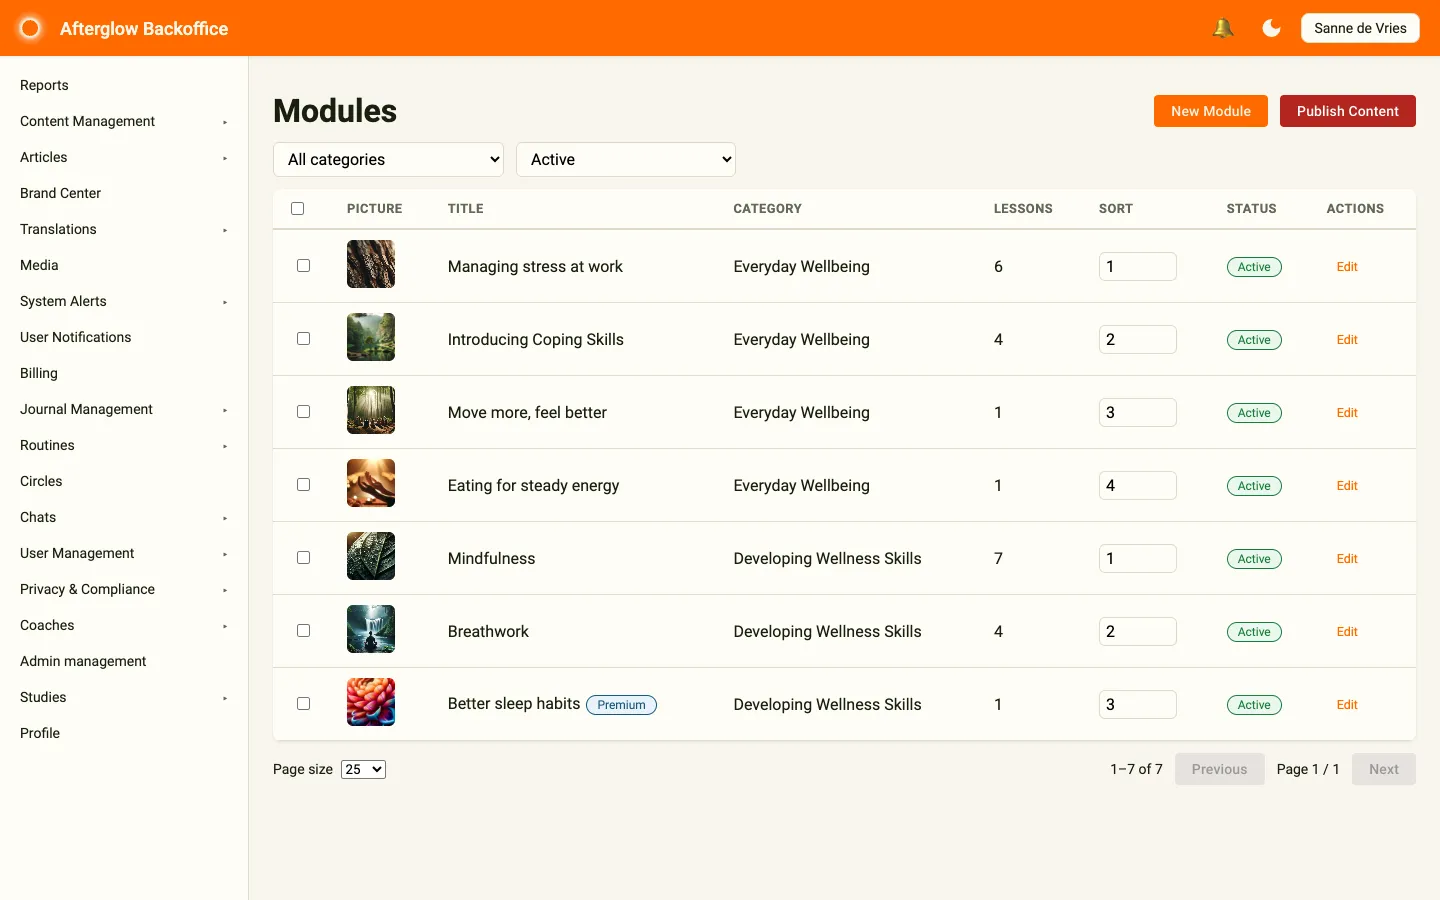
Section titled “Step 4 — Add your first content”Content in Afterglow follows a three-level hierarchy: Modules contain Lessons, and Lessons contain Lesson Steps. To create your first piece of content:
- Expand Content Management in the sidebar and click Modules.
- Click New Module.
- Give the module a title and assign it to a category. The title uses multilingual text — fill in at least one language, and use the Auto-translate missing languages button next to the language tabs to complete the others in one click.
- Click Save. The module opens with a Lessons tab.
- On the Lessons tab, click Add Lesson to create a lesson in this module, and save it.
- On the lesson’s Steps tab, click Add Step to add steps to your lesson.
- When you are happy with the content, click Publish Content to push it live.
See Content Management and Content Structure for a detailed explanation of modules, lessons, and lesson steps.
Step 5 — Create an article
Section titled “Step 5 — Create an article”If the Articles feature is enabled, you can publish standalone content outside the module hierarchy.
- Expand Articles in the sidebar and click Articles.
- Click Add New.
- Fill in the title, subtitle, and content using the rich text editor.
- Optionally assign a topic, add tags, and set a cover image.
- Tick Is Active to make the article visible to users.
- Click Save, then return to the overview and click Publish Articles to push your changes live.
See Articles for details on topics, tags, and the publishing workflow.
Step 6 — Invite users
Section titled “Step 6 — Invite users”The User Management page lets you view existing users and invite new ones.
- Expand User Management in the sidebar, then click Users.
- To invite a single user, enter their email address in the Invite a user section, choose the code type, and click Send invite.
- To invite multiple users at once, use the Bulk invite users section: click Download template, fill in the CSV file, upload it, and click Process.
- Invited users receive an email with instructions to create their account.
You can also generate access codes that allow users to self-register. If you want to automate access code creation from your own systems, see the Access Codes API.
See User Management for more on user profiles, access codes, and bulk operations.
Step 7 — Customize branding
Section titled “Step 7 — Customize branding”If the Brand Center feature is enabled and branding was not configured during workspace setup, you can personalize the platform now.
- Click Brand Center in the sidebar.
- Set your brand colors on the Colors tab, and optionally your fonts, banners, and onboarding video on the other tabs.
- Click Save, then Publish styling to push the new look to the mobile app.
See Brand Center for all available branding options.
Step 8 — Know your privacy responsibilities
Section titled “Step 8 — Know your privacy responsibilities”As an administrator, you are responsible for handling user data rights under GDPR (and any equivalent local regulation). The platform provides a dedicated area for this work — Privacy & Compliance — where you review and approve data export requests (Article 15) and data erasure requests (Article 17).
Two things to keep in mind from day one:
- Coaches can file privacy requests for their clients, but those requests land as proposals that you must approve before the platform does anything. Filter the requests list by Awaiting confirmation at the start of each shift to spot work waiting on you.
- Erasures default to a 30-day grace window during which the user can cancel. Skipping the grace window is reserved for court orders, confirmed account compromise, or written waivers — not “the user is in a hurry”.
See Privacy & Compliance for the full workflow, and Data retention and privacy for what is preserved and why.
Next steps
Section titled “Next steps”You have completed the essentials. Here are a few areas to explore next:
- Journal Management — Configure AI-powered journal assistants for your users.
- User Notifications — Set up push notification triggers to keep users engaged.
- Coaches — If coaching is enabled, manage your coach directory and bookings.
- Admin Management — Add more admin accounts and assign roles.
- Roles and Permissions — Understand what each role can access.